Whether you want to add a bold pop of colour or a subtle pattern, in this edition of Keeping Haus, we show you how to recycle an old headboard into something beautiful and completely unique.
Keeping Haus: DIY Headboard Cover
Upcycling old furniture is an easy and inexpensive way to add a unique touch to any space. With some creativity and a few tools, you can transform your bedroom into something beautiful that truly reflects your style.
Changing your headboard is a great way to give your bedroom a new look without spending much money or time. Whether you want to add a bold pop of colour or a subtle pattern, in this edition of Keeping Haus, we show you how to recycle an old headboard into something beautiful and completely unique.
Firstly, pop on your favourite music or podcast, grab a cuppa of choice and let’s begin…
You will need:
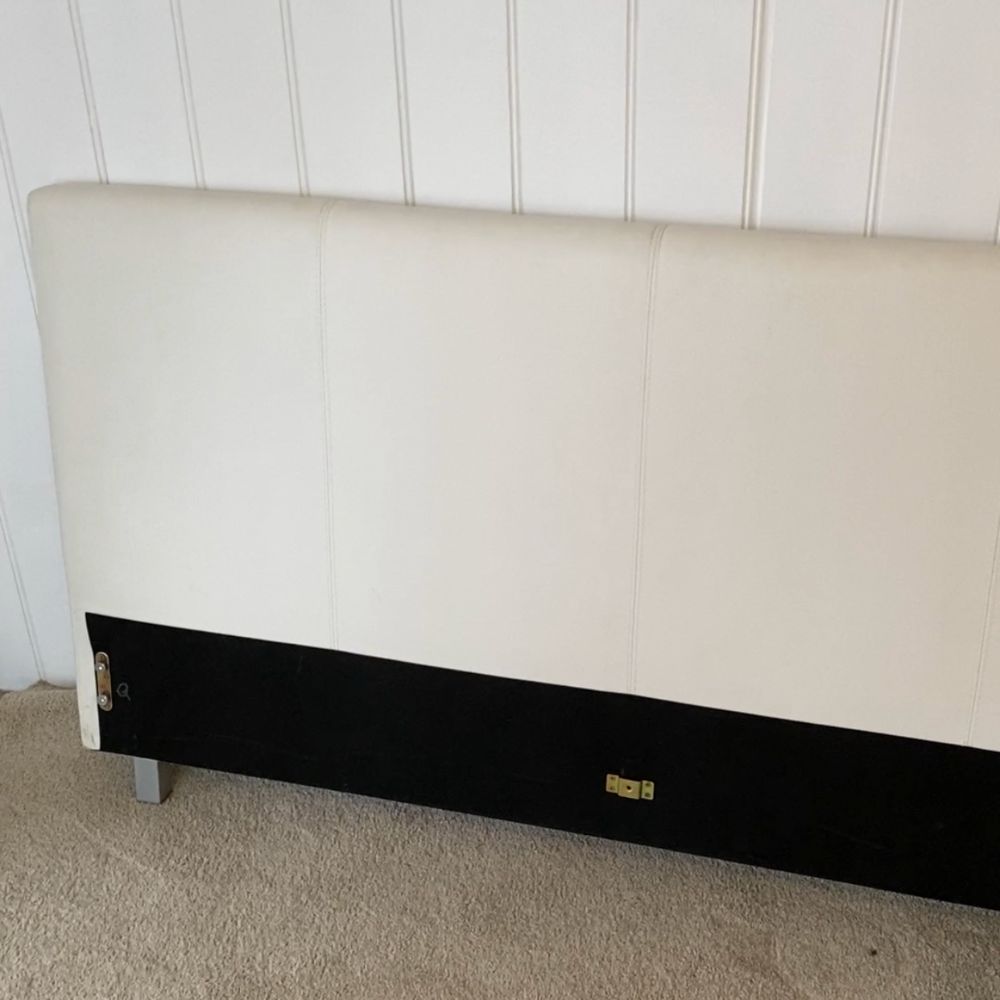
A headboard to cover – we suggest a solid headboard covered in vinyl or fabric. This cover would not be recommended for a timber or metal headboard. You can find great deals on gently used furniture on online marketplaces like Facebook or Gumtree.
Quilt cover in size to match your headboard. (We used a double to fit a queen headboard) or fabric to make a headboard cover
Sewing machine
Sewing machine thread to match your fabric or quilt cover
Fabric scissors and pins
A sense of fun and adventure
Step One:
Measure your headboard. Your fabric must be at least 10cm larger than your headboard. This measurement may vary depending on the thickness of your headboard.
Step Two:
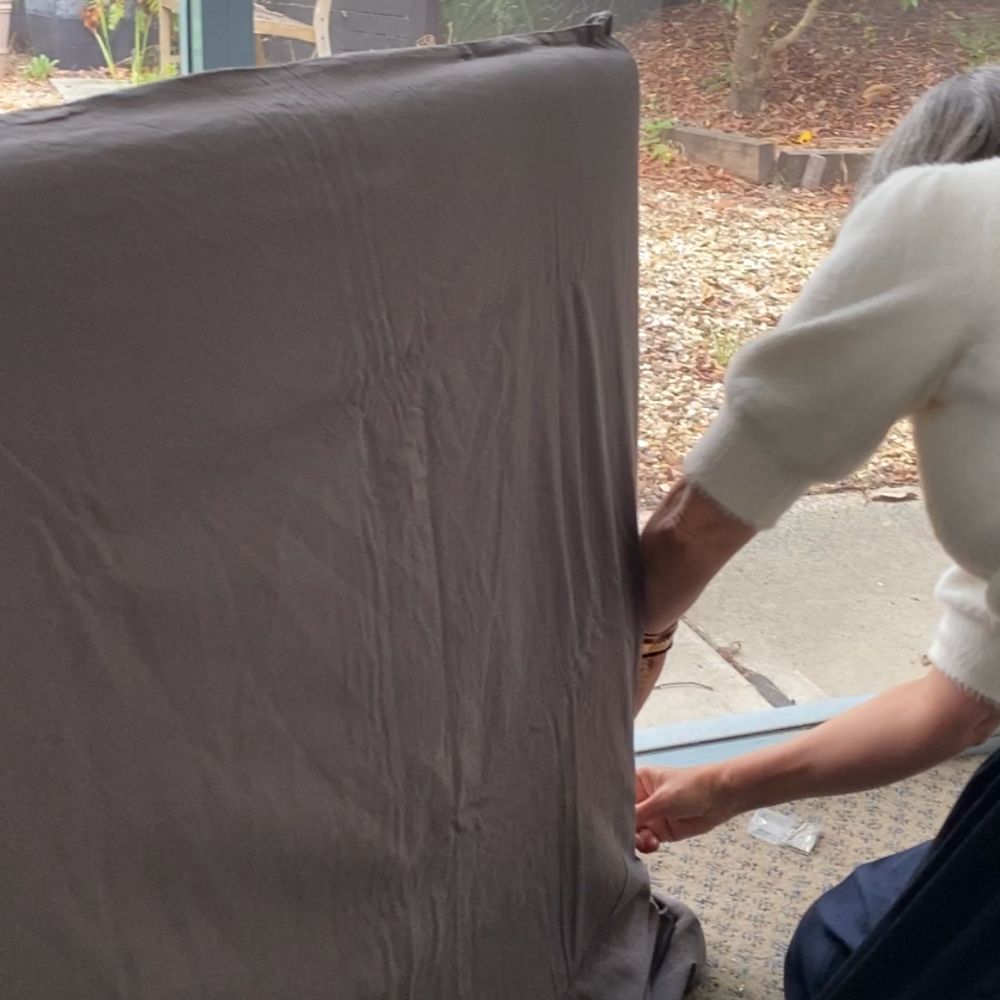
If using a quilt cover, once you have unpicked the bottom opening, turn it inside out, and slip it over your headboard. Next, measure and pin through both thicknesses of fabric down one long side of your headboard cover, measuring so that your cover is at least 10cm wider than the headboard.
If you are using fabric, you will need to cut a front and a back piece for your slipcover. These will need to be at least 10 cm wider than your headboard measurements to allow for seam allowance and the thickness of your headboard. If your headboard is thick, you may need to allow a larger seam allowance.
Step Three:
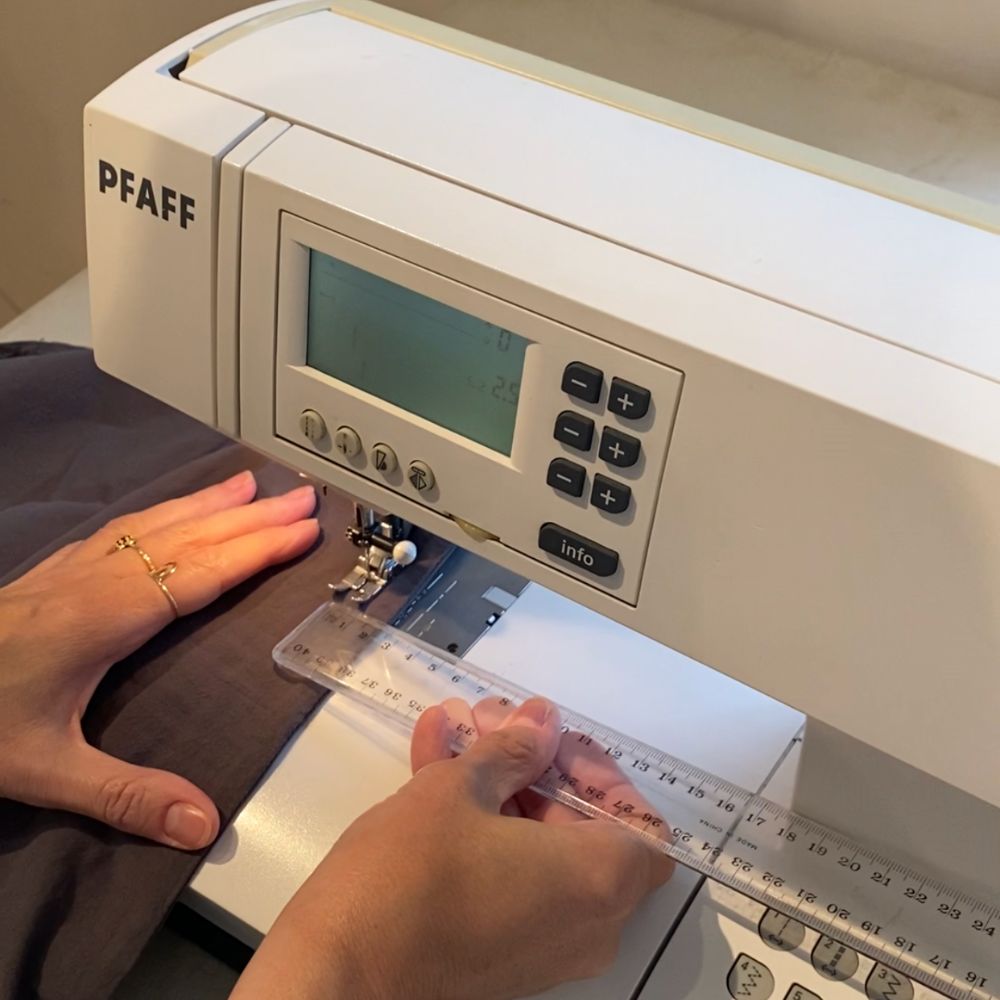
Gently remove your slipcover from the headboard and lay flat on a table or floor. Continue pinning along the length of the side, ensuring your fabrics are right side together and ensuring your line of pins is straight.
Machine stitch along this pinned line. Before trimming the excess fabric, turn right side out and slip back over your headboard.
Your slipcover should be at least 1 – 2 cm larger than your headboard at this stage. This is to allow you to stitch the flat frill around three of the edges. You will need to adjust the side seam accordingly if it is too loose or too tight.
Once you are happy with the fit of your slipcover, trim the seam allowance of the previously stitched seam to approximately 1 cm away from your stitched seam.
If you wish to hem the bottom edge, this is the time to do that. You can have the length of your slipcover to your desired length on your headboard. Once you have it to your desired length, turn a 1 – 2cm seam to the inside and machine stitch in place.
Turn your slipcover right side out and press flat around the sides and top edges. Return to your sewing machine and stitch a row of top stitching approximately 1 – 2 cm around three sides. Start at the bottom of one side, stitch to the top corner, stopping and pivoting to stitch across the top, and repeat for the other corner and side. Make sure you reverse stitch at the beginning and end of your rows for added strength.
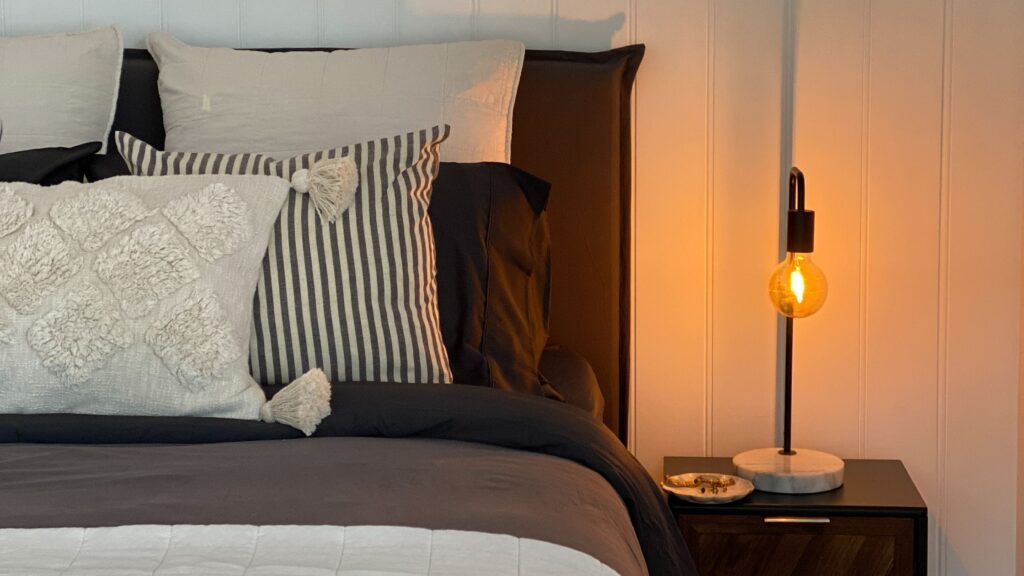
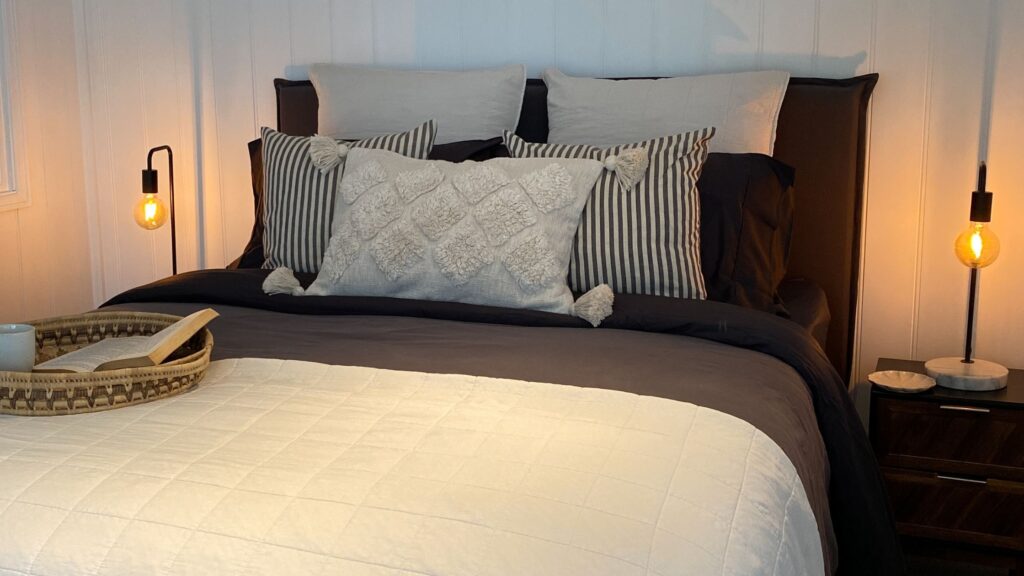
Slip your completed Headboard cover over your headboard. It should be snug but not too tight. Stand back and admire your creation!
Congratulations! You now have a beautiful, custom-made headboard cover that you can enjoy for years. With a few simple materials and patience, you have created something that will add a unique and personal touch to your bedroom décor.